How to Create and file 1099s with QuickBooks Desktop?
Get familiar with the easy steps to create and file 1099s with QuickBooks Desktop.
QuickBooks Desktop software has brought a big respite in the
sphere of filing payroll taxes as you can file your taxes without any hassle through
this software. Users can now conveniently create
and file 1099s in QuickBooks Desktop, which are necessitated while paying
in cash, direct deposits, or check. These comprise 1099-NEC and 1099-MISC.
After filing, you can mail the copies to your contractors. This article will
brief you on the procedure to create and file 1099s. So, make sure that you
navigate through this article till the end.
Who needs to File 1099s with QuickBooks?
The creation and filing of 1099s are very important for the
following:
·
Filing 1099s is indispensable when you make
payments to contractors in different forms like cash, direct deposit, and
checks.
·
If you are an employer and have hired vendors or
freelancers, then in that case, also the filing of 1099 is essential.
·
Also, under the withholding rules, if you have
withheld the federal income tax, then filing 1099s is important.
Procedure to create and file 1099s in QuickBooks Desktop
Let us check out the step-by-step procedure to create and
file 1099s with QuickBooks Desktop. Perform the below-mentioned steps in the
same order in which they have been listed.
Step 1: Provide the contents of the report and the time
Initially, you should know the purpose for which you are
filing 1099, whether you are an employer paying your vendors, or contractors,
or you have earlier withheld the federal income tax. Furthermore, you need to
know the filing date of the 1099s, which are due by 31st January. Also, note
that the tax form needs to be filed online before 28th January.
Step 2: Set the 1099 account
All the payments that are made to the contractors should be
categorized as nonemployee compensation. If you have opted for several
different cash payment types, then, in that case, characterizing contractors as
per the payment types is preferable. For such users, the filing of both 1099s
types is important.
Step 3: Updating QuickBooks is the next step
Having set up your 1099 account, the subsequent step is to
get your QuickBooks Desktop software updated to the latest release. For that,
follow the steps given below:
·
Initially, you need to launch the QuickBooks Desktop.
·
After launching the accounting software, you
need to hit on the Help menu and tap
on the Update QuickBooks Desktop
option.
·
Head for the Update Now option.
·
Hit on Reset
Update.
·
Now, opt for the Get updates option.
·
Restart your QuickBooks software after the
successful completion of the download process.
·
The installation process will automatically
commence when you restart QuickBooks.
·
The next step is to create 1099s.
Step 4: Creating 1099s in QuickBooks Desktop
The procedure for creating your 1099s in the QuickBooks
software will become quite easy if you follow the below-given guidelines
carefully.
·
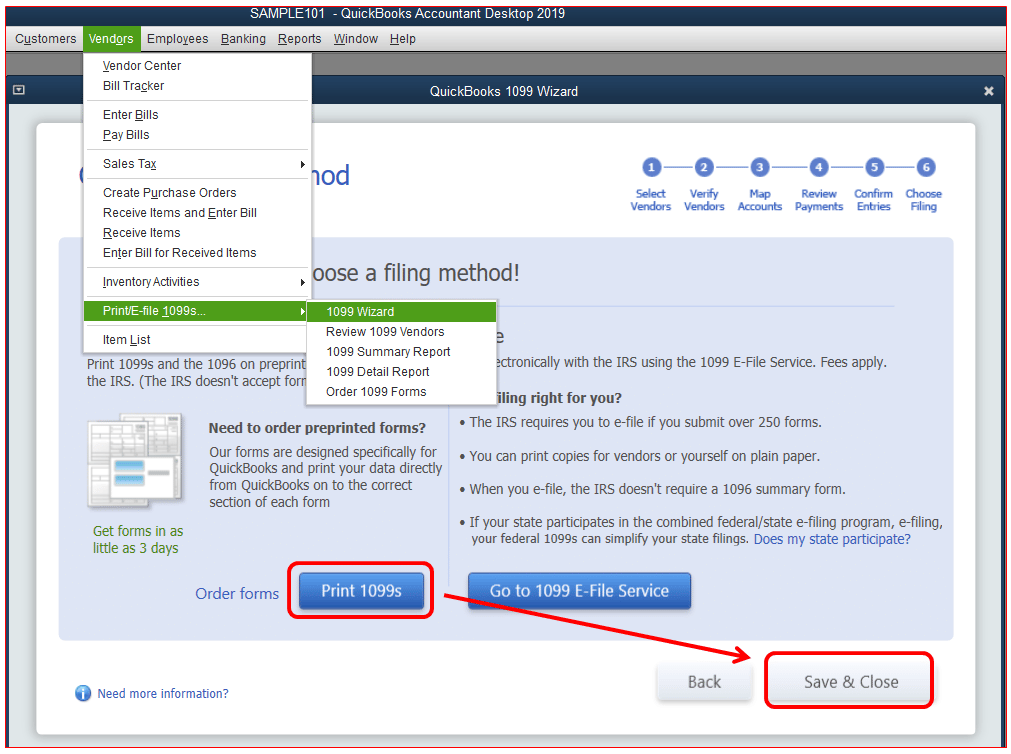
You are initially required to visit the Vendors menu.
·
Follow it up by opting for 1099s forms.
·
After doing that, the next action involves the creation of a backup of your company file.
·
Now, opt for Get started option. You can create both the 1099-NEC and 1099-MISC
forms herein.
·
Now, hit on all the vendors/contractors for whom
you are seeking to create the 1099s form.
·
Subsequently, hit on Continue.
·
Thereafter, examine if all the entered information
is correct.
·
You may edit the entered data by just
double-clicking on a certain vendor and then hitting on Continue.
·
Subsequently, tap on the drop-down menu in the Apply payment to this 1099 section.
·
Choose the account connected to a specific
payment. The account is already mapped to another 1099 form, as indicated by
grey boxes.
·
Hit on Continue
once you've mapped the vendor payment accounts.
·
For elaborate information on the payments
included in or excluded from the 1099 form, you are supposed to hit on View Excluded Payments or View Included Payments options.
·
Any electronic transactions can now be taken out
of the 1099 form.
·
Check the amount listed against each vendor's
name for accuracy.
·
Then, hit on Continue.
·
Whether to print or e-file the 1099s is up to
you.
Take note of the following points
You should be aware of the following:
·
The majority of organizations opt for Box 1 on
the 1099-NEC form for nonemployee compensation.
·
For any doubts, you should reach out to our
support team, which comprises certified accountants. If you have doubts about
whether the recent regulation changes have no bearing on how you should report
these taxes, you should reach out to our experts to get the query cleared out.
Step 5: Transferring data into 1099
The actions listed below should be adhered to in order to
create a Tax1099 Account:
·
Initially, hit on 1099 E-File Service to proceed. This option will be accessible soon
after you've generated your 1099 tax forms.
·
Now, you are supposed to Register for a Tax1099 Account or login if you have already created one.
·
Now, import/transfer the tax data created in
QuickBooks Desktop to 1099s. For this, adhere to the on-screen instructions.
Step 6: Steps for e- filing your 1099 tax forms
You can e-file your taxes after importing the 1099 tax forms
made in QuickBooks Desktop into the Tax1099 account. To do this, adhere to the
instructions below:
·
By selecting a vendor's name or the edit button, you can update any of the
information.
·
You are supposed to pick the Update option.
·
To file state 1099s, you need to provide the
necessary information in the relevant state boxes.
·
Then, choose each vendor and contractor whose
taxes you want to e-file.
·
Hit on Next.
·
Choose the delivery mechanism for each vendor's
copy of 1099. You can choose between the USPS mail, the Email Receiver, or
downloading the PDF and forward that manually.
·
If you want to file 1099s with your state, hit
on Next. Choose your state as well. If not, tap on Calculate Tax1099.com Fee.
·
The Payment Page will now appear on the screen.
·
Herein, you are required to enter your correct
payment information and then hit on Pay
& Submit.
·
If you want to generate and submit the
1099-MISC, repeat the steps.
Step 7: Verify 2099s filing status
The following actions should be followed to check the status
of your 1099s' filing:
·
To begin with, access your Tax1099 account and
log in.
·
Afterward, tap the plus sign. It is located in the page's upper right corner.
·
Thereafter, you need to check the Status check box
·
The reference number has nine digits.
·
Hit on Check
Status.
That brings us to the end of this article. We wind up hoping
that you got familiarized with the process to create and file 1099s with
QuickBooks Desktop. The process should be quite convenient after
following the walkthrough laid down in this article. If you have any
Tax-related queries or are facing ancillary technical issues in QuickBooks
Desktop, then, in that case, feel free to contact our 24/7
QuickBooks technical support team via our helpline i.e, 1-800-761-1787.
Also Check : http://justff.1gb.ru/forums/topic/80/how-to-fix-quick-books-error-code-6177-0/view/post_id/186


Comments
Post a Comment